Pitney Bowes Shipping API, developers can integrate features such as comparing shipping rates from multiple carriers, creating and purchasing shipping labels, tracking packages, scheduling pickups, managing returns, and accessing other shipping features. These APIs also offers a variety of shipping services, including international shipping and multi-carrier rate shopping, which allows developers to choose the best carrier and rate for each shipment.
Developers can also benefit from discounted shipping rates offered, as well as access to features such as address validation and customs documentation.
In order to use the Pitney Bowes Shipping APIs, you need a Developer Account with the Pitney Bowes Shipping API platform. You can generate API keys through this Developer Account. Once you have the API key, you can use it to authenticate your requests and access the full range of shipping functionality offered.
Follow this tutorial for Authentication and to make your first API call. In this guide, you will learn how to verify an address using the API.
Go to the Pitney Bowes Developer Portal Signup Page.
Enter your email address and click Continue button.
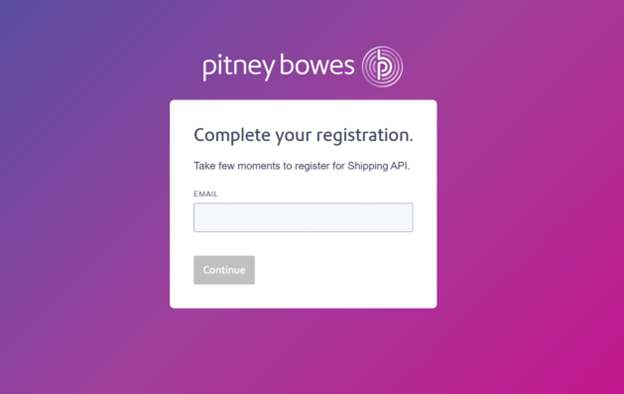
Note: Use a regularly monitored email address. This email cannot be changed later.
- Complete the registration form by entering all required details, including Email address, First name, Last name, Company name, Address, city, ZIP code and Phone number.
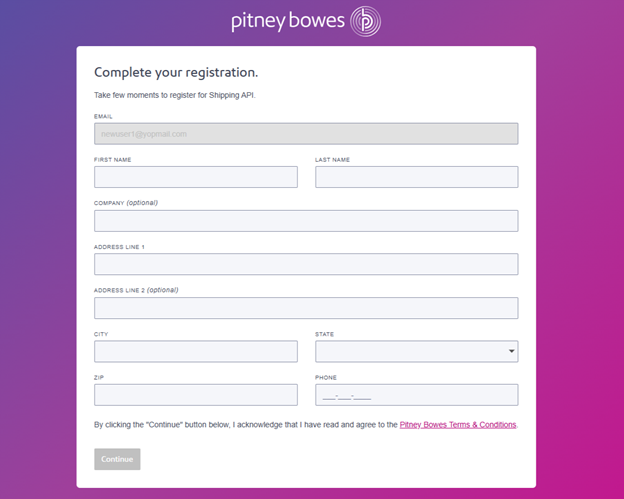
- Click Continue button to submit the form.
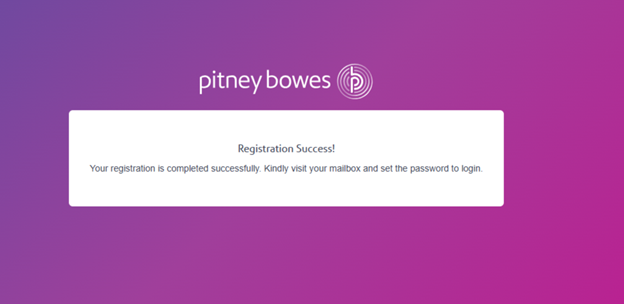
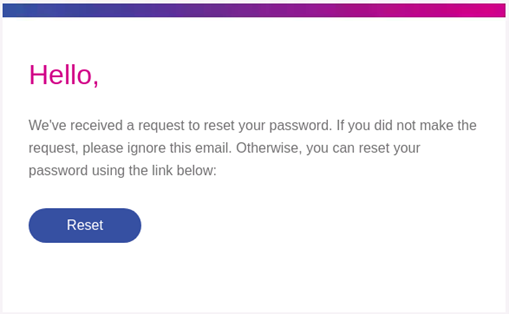
- After successful registration, merchant will receive an email prompting them to complete the registration process.
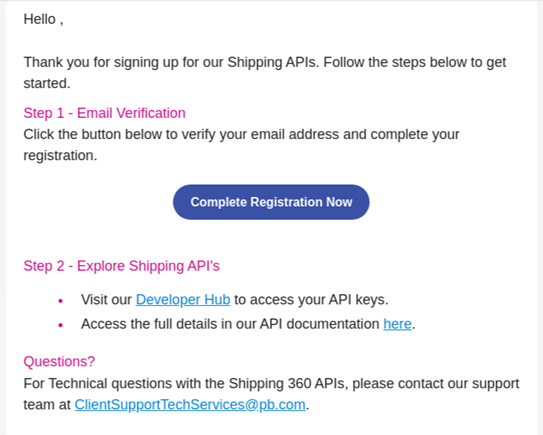
In the email, click Complete Registration Now button.
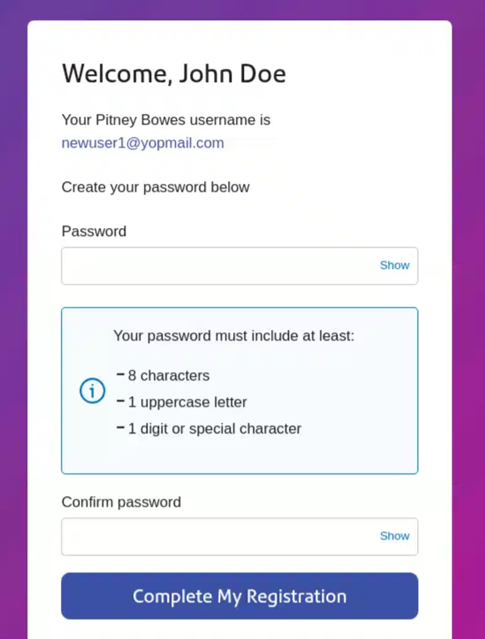
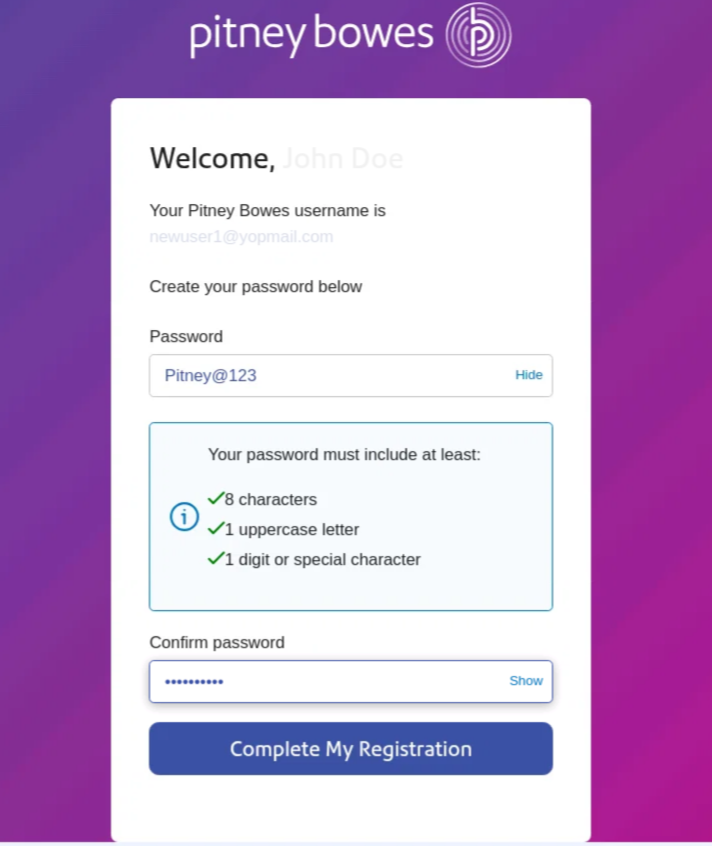
The link opens the Pitney Bowes portal. On the Reset Your Password dialog box:
Enter and confirm new password.
Click Complete My Registration button.
After setting your password, you will be redirected to the Pitney Bowes Developer Portal.
Sign in using your new credentials.
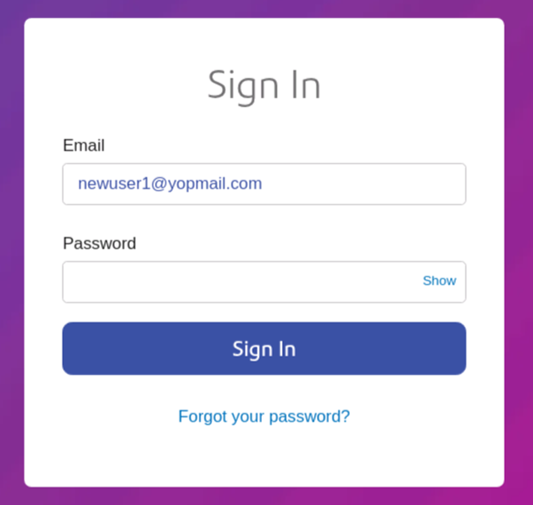
Sign in at the Developer Hub login page.
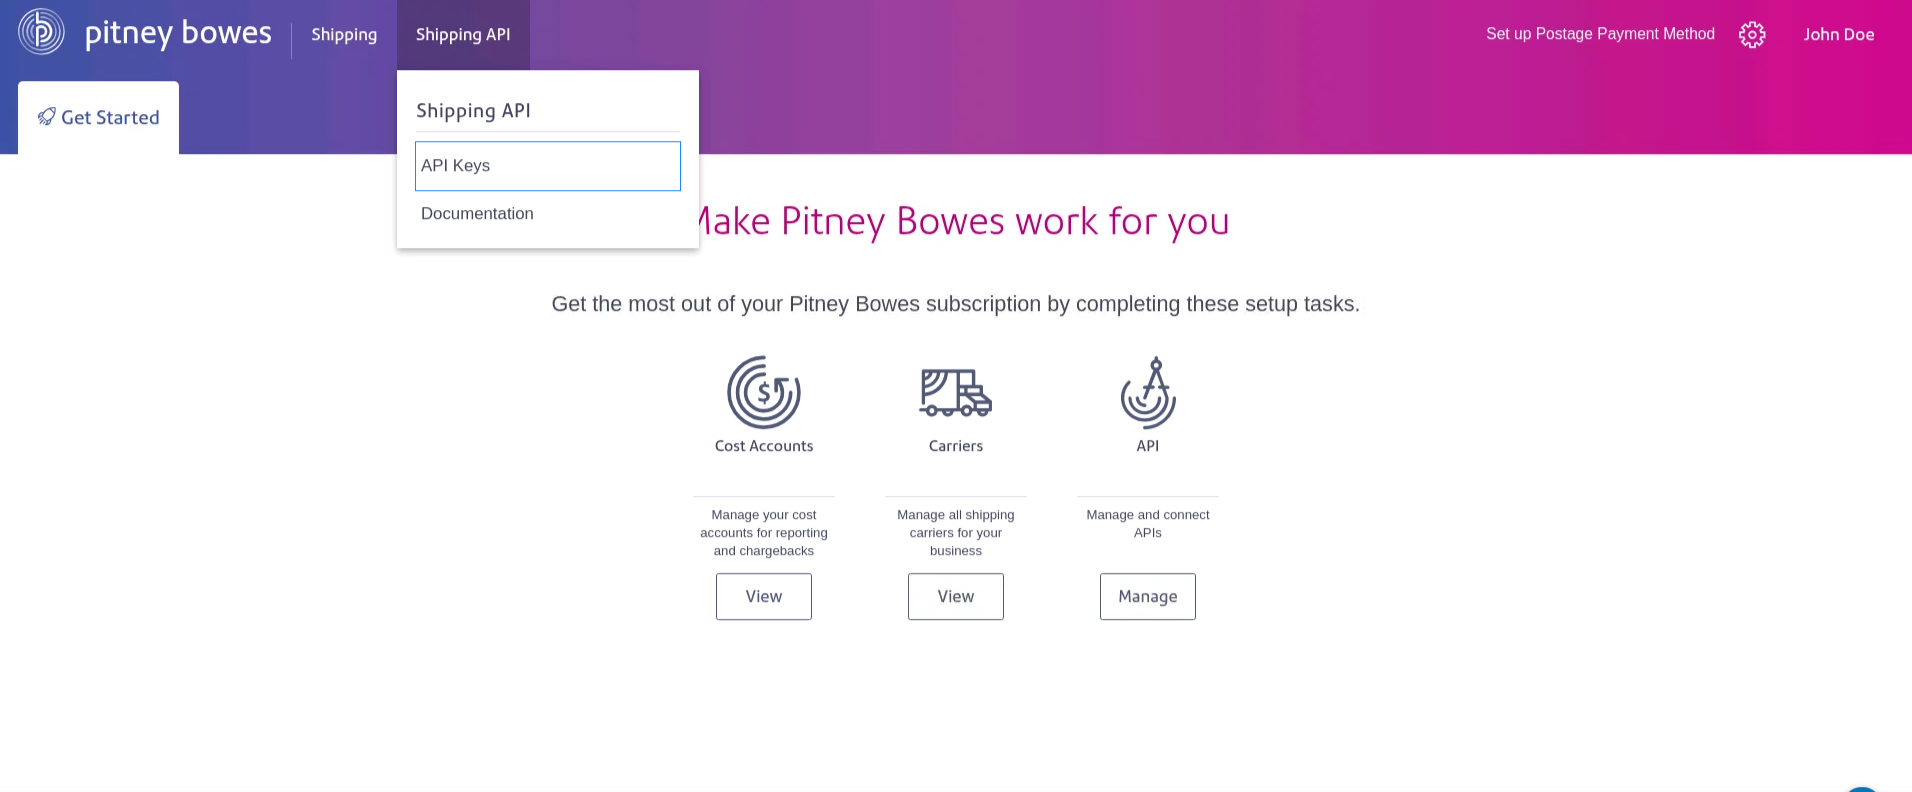
- After logging into the developer portal, go to the Shipping API tab and select API Keys.
- You will see two sections:
Sandbox Keys
Production Keys
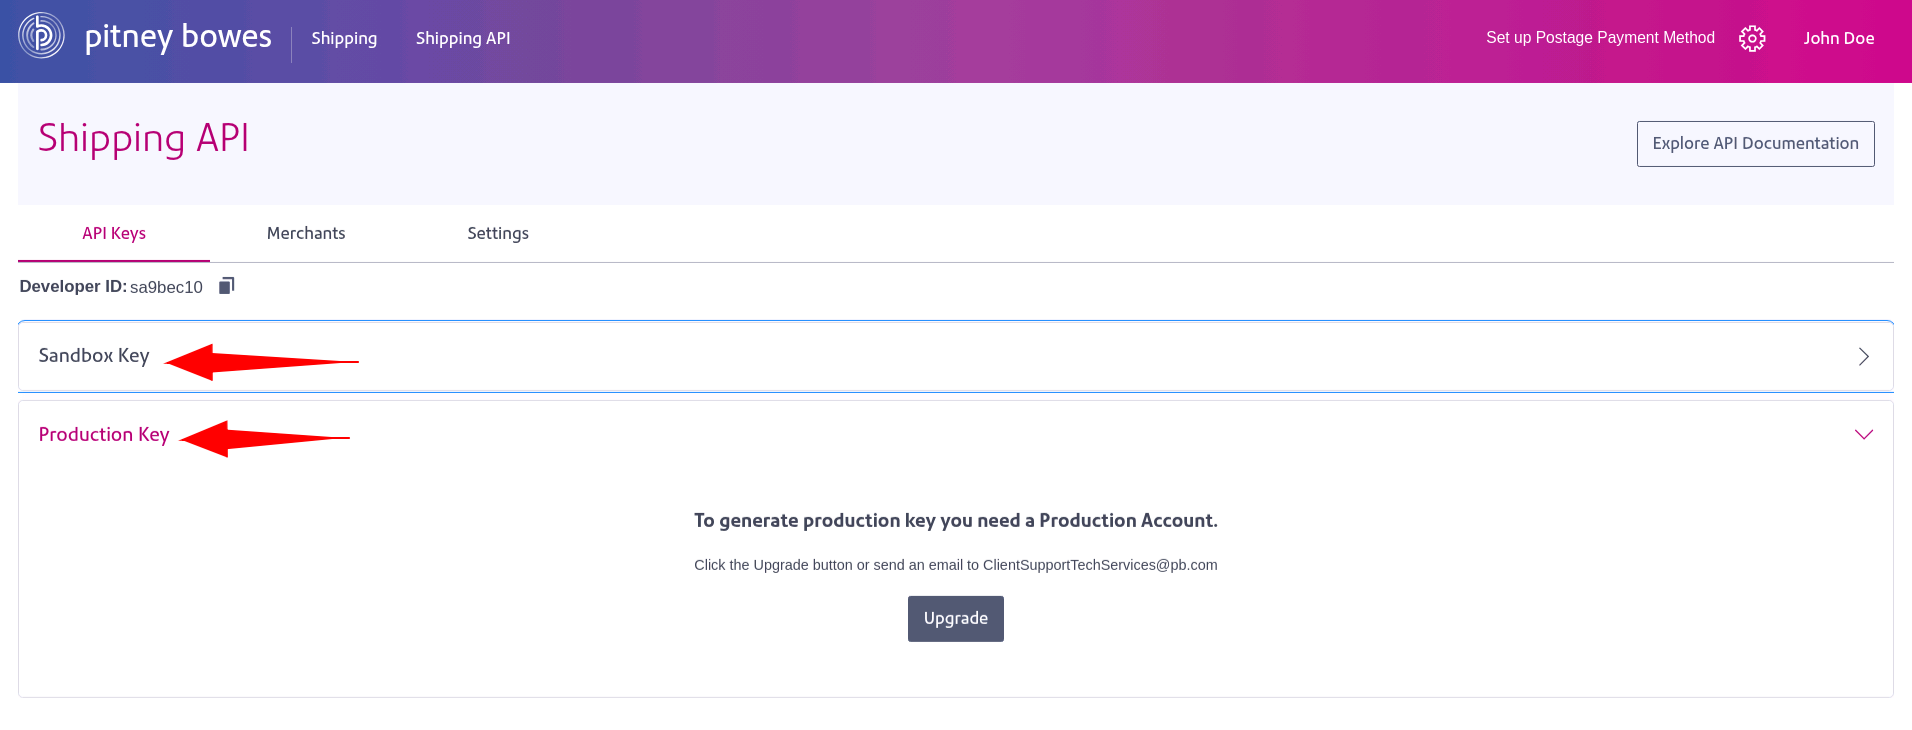
- Under API Keys:
Use Sandbox Key for development and testing.
Use Production Key production ready use of the API (available only after account upgrade).
- Click Generate Key under the Sandbox section.
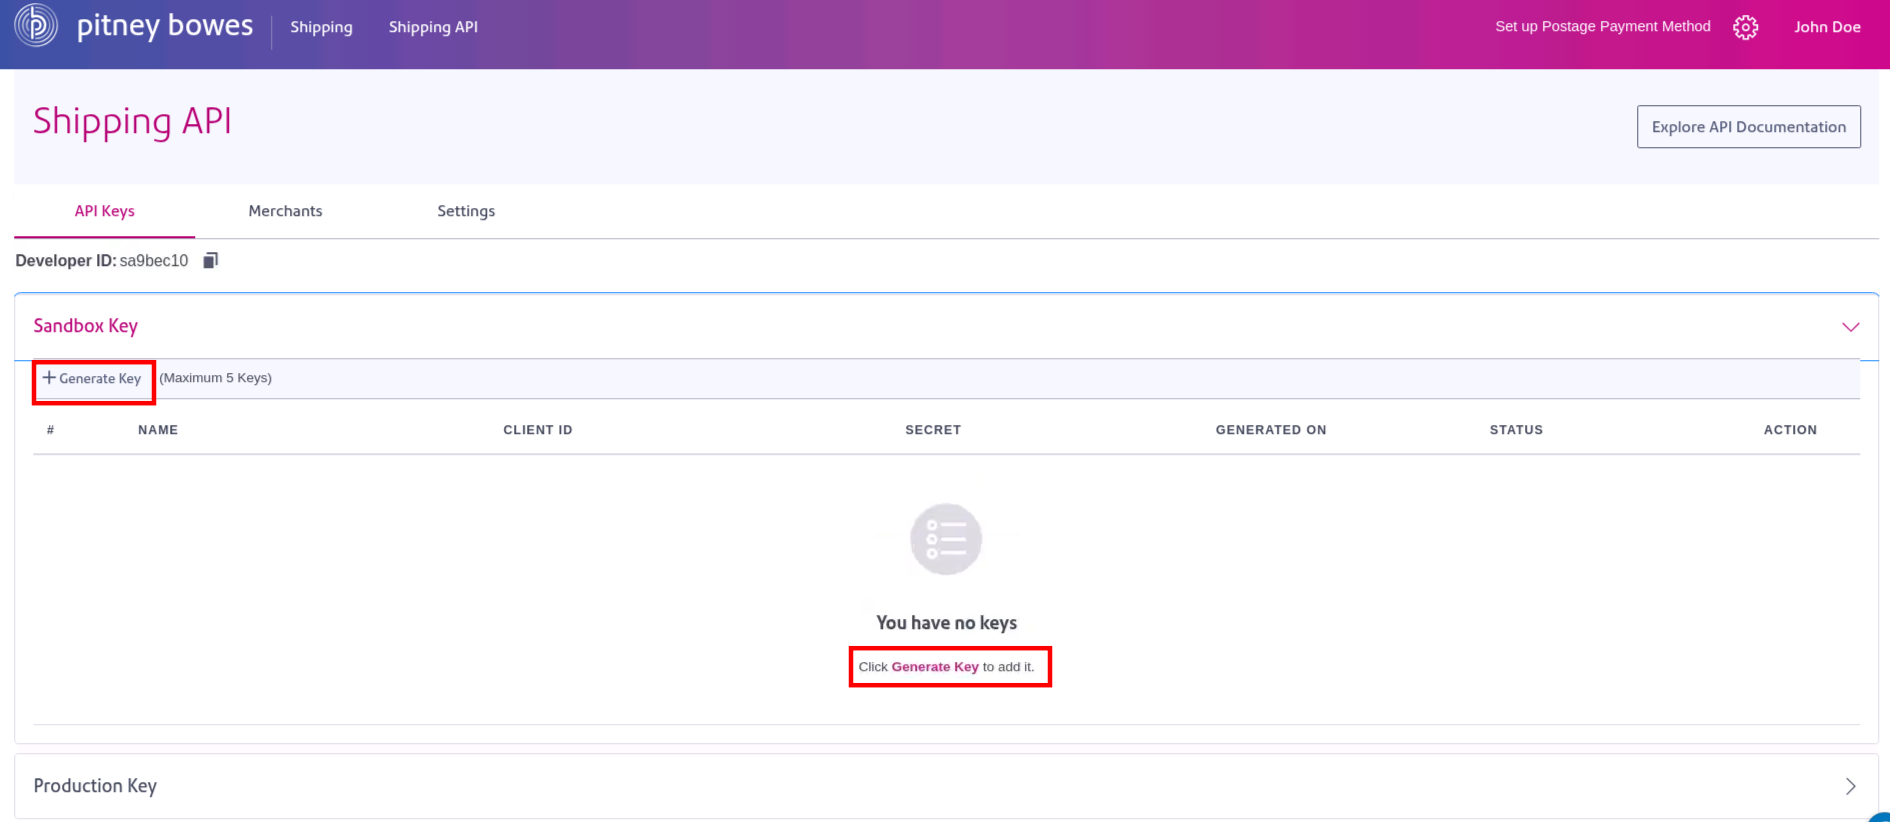
This action generates a Client ID and Secret.
Use these credentials to generate a Bearer Token.
Note: You can generate up to 5 sets of keys per account.
| Parameter | Description |
|---|---|
| Client ID | The unique identifier assigned to the client application |
| Secret | A confidential string used to authenticate the client |
| Developer Partner ID | A unique identifier for associated developer partner. |
Please note the Developer Partner ID parameter is not required for token generation. In cases where the developer is the only partner, it becomes optional and can be used at the developer's discretion. This is mandatory when the developer has multiple partners. This is being used in X-PB-Developer-Partner-ID header in some of APIs. Please refer to detailed documentation for more information.
To access your Sandbox merchant and carrier settings:
- Go to the Sandbox Login Page.
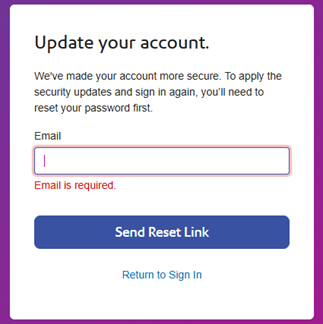
Enter your registered email address (the one used for your Production account) and click Send Reset Link.
You will receive a password reset email specifically for the Sandbox environment.
In the email, click Reset button.
- The link opens the Pitney Bowes portal. On the Reset Your Password dialog box:
- Enter and confirm your new password and click Submit.
- Sign in to the Sandbox portal using your new credentials.
Note: API keys cannot be regenerated in the Sandbox if they were already created in Production.
- Use the following base URL to test the 360 APIs in Sandbox.
"https://api-sandbox.sendpro360.pitneybowes.com/shipping
Begin with the Create Shipment API to print your first label using any available carrier.
For a full list of supported carriers, refer to the Carrier Catalog.
After successful testing in Sandbox:
Sign in to the Production Developer Hub.
To upgrade your account to Production, contact: ClientSupportTechServices@pb.com
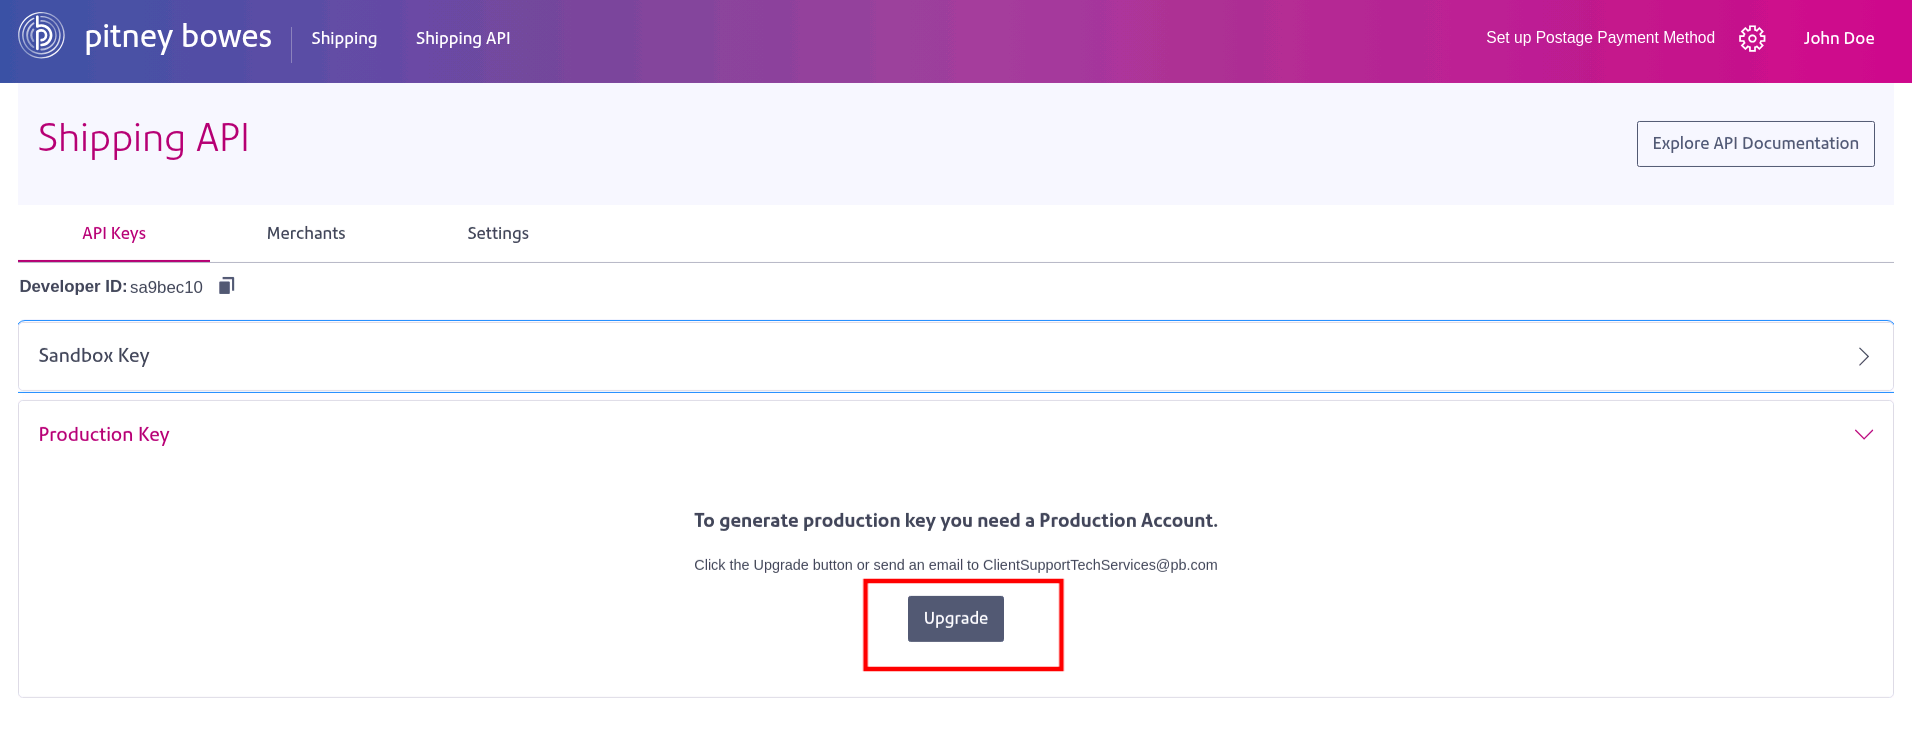
Upon approval, you will receive access to your Production API Keys and Credentials.
Start making API requests in the Production environment.
Before printing your first production label, make sure your postage account has sufficient funds. Insufficient funds may result in errors during label generation.
Try out the Authentication API to generate your API Token.
To make sure everything is working, make a simple call to verify an address in your account using the Bearer Token generated in the above step.
curl --location 'https://api-sandbox.sendpro360.pitneybowes.com/shipping/api/v1/address/verify' \
--header 'Content-Type: application/json' \
--header 'Authorization: Bearer {{bearerToken}}' \
--data '{
    "addressLine1": "1001 Bridgeport AA ",
    "cityTown": "Shelton",
    "countryCode": "US",
    "name": "John Smith",
    "postalCode": "06484"
}'
If your request to verify an address was a success, the response should look like the following.
{
    "addressLine1": "1001 Bridgeport Ave",
    "cityTown": "Shelton",
    "countryCode": "US",
    "name": "John Smith",
    "postalCode": "06484-4675",
    "residential": false,
    "stateProvince": "CT",
    "status": "VALIDATED_CHANGED"
}Clients are advised to avoid strict validation on the response body to ensure that any new fields or objects added in the future do not cause issues or break existing integrations.
You now know how to use the API. Navigate to the catalog and try out the APIs. Refer to our API Catalog.